The Gold List is open — join free & get the Fresh & Easy Dinners eBook →
Christmas Party Recipes
Christmas Tree No-Bake Cheesecake
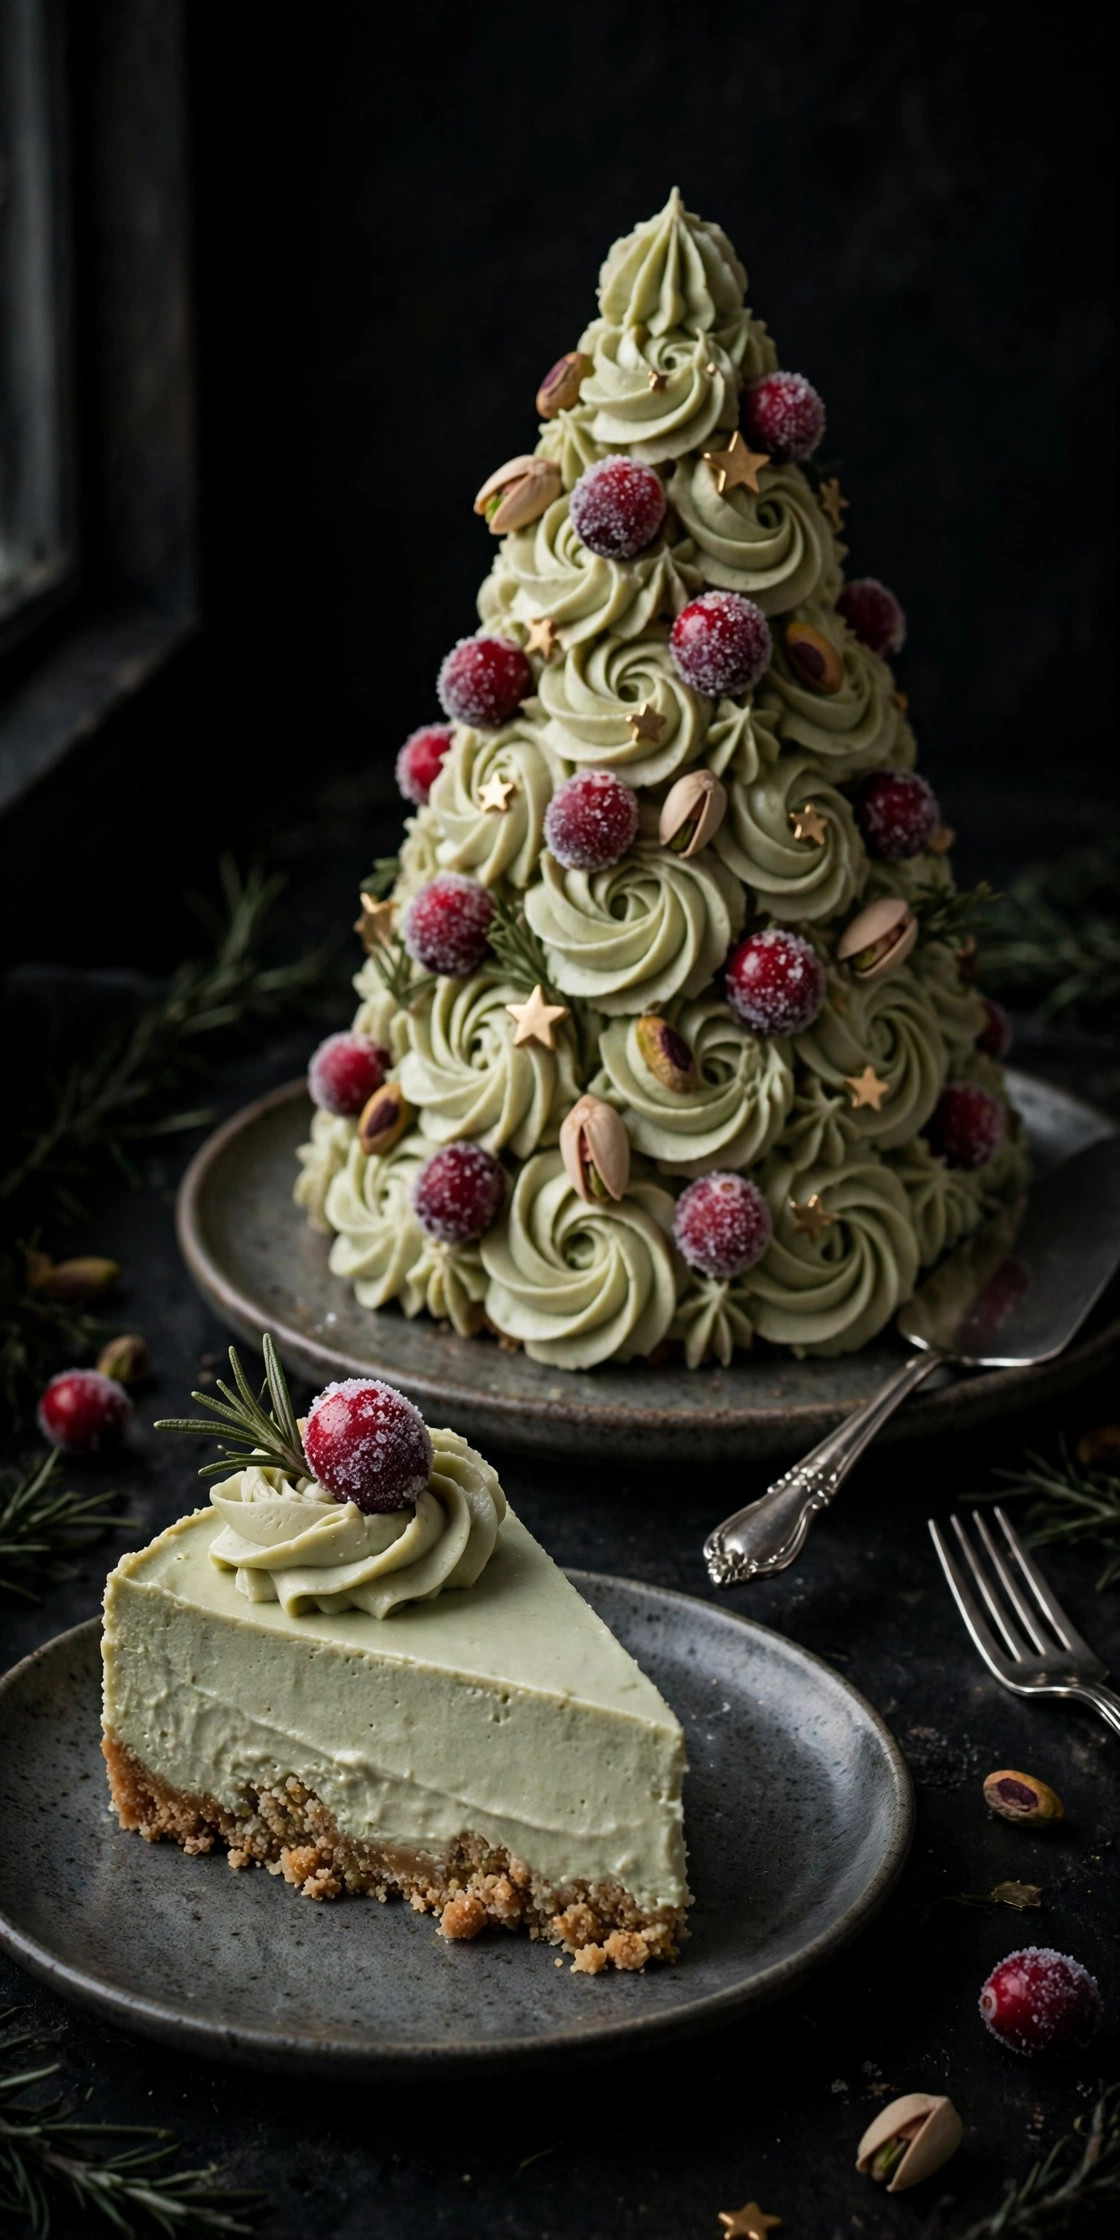
A Christmas Tree No-Bake Cheesecake with a crumbly biscuit base, a creamy piped-rosette tree, sugared cranberries and gold stars — the easy, make-ahead holiday dessert that steals the Christmas table. About 30 minutes of hands-on work, one springform pan, zero oven time.
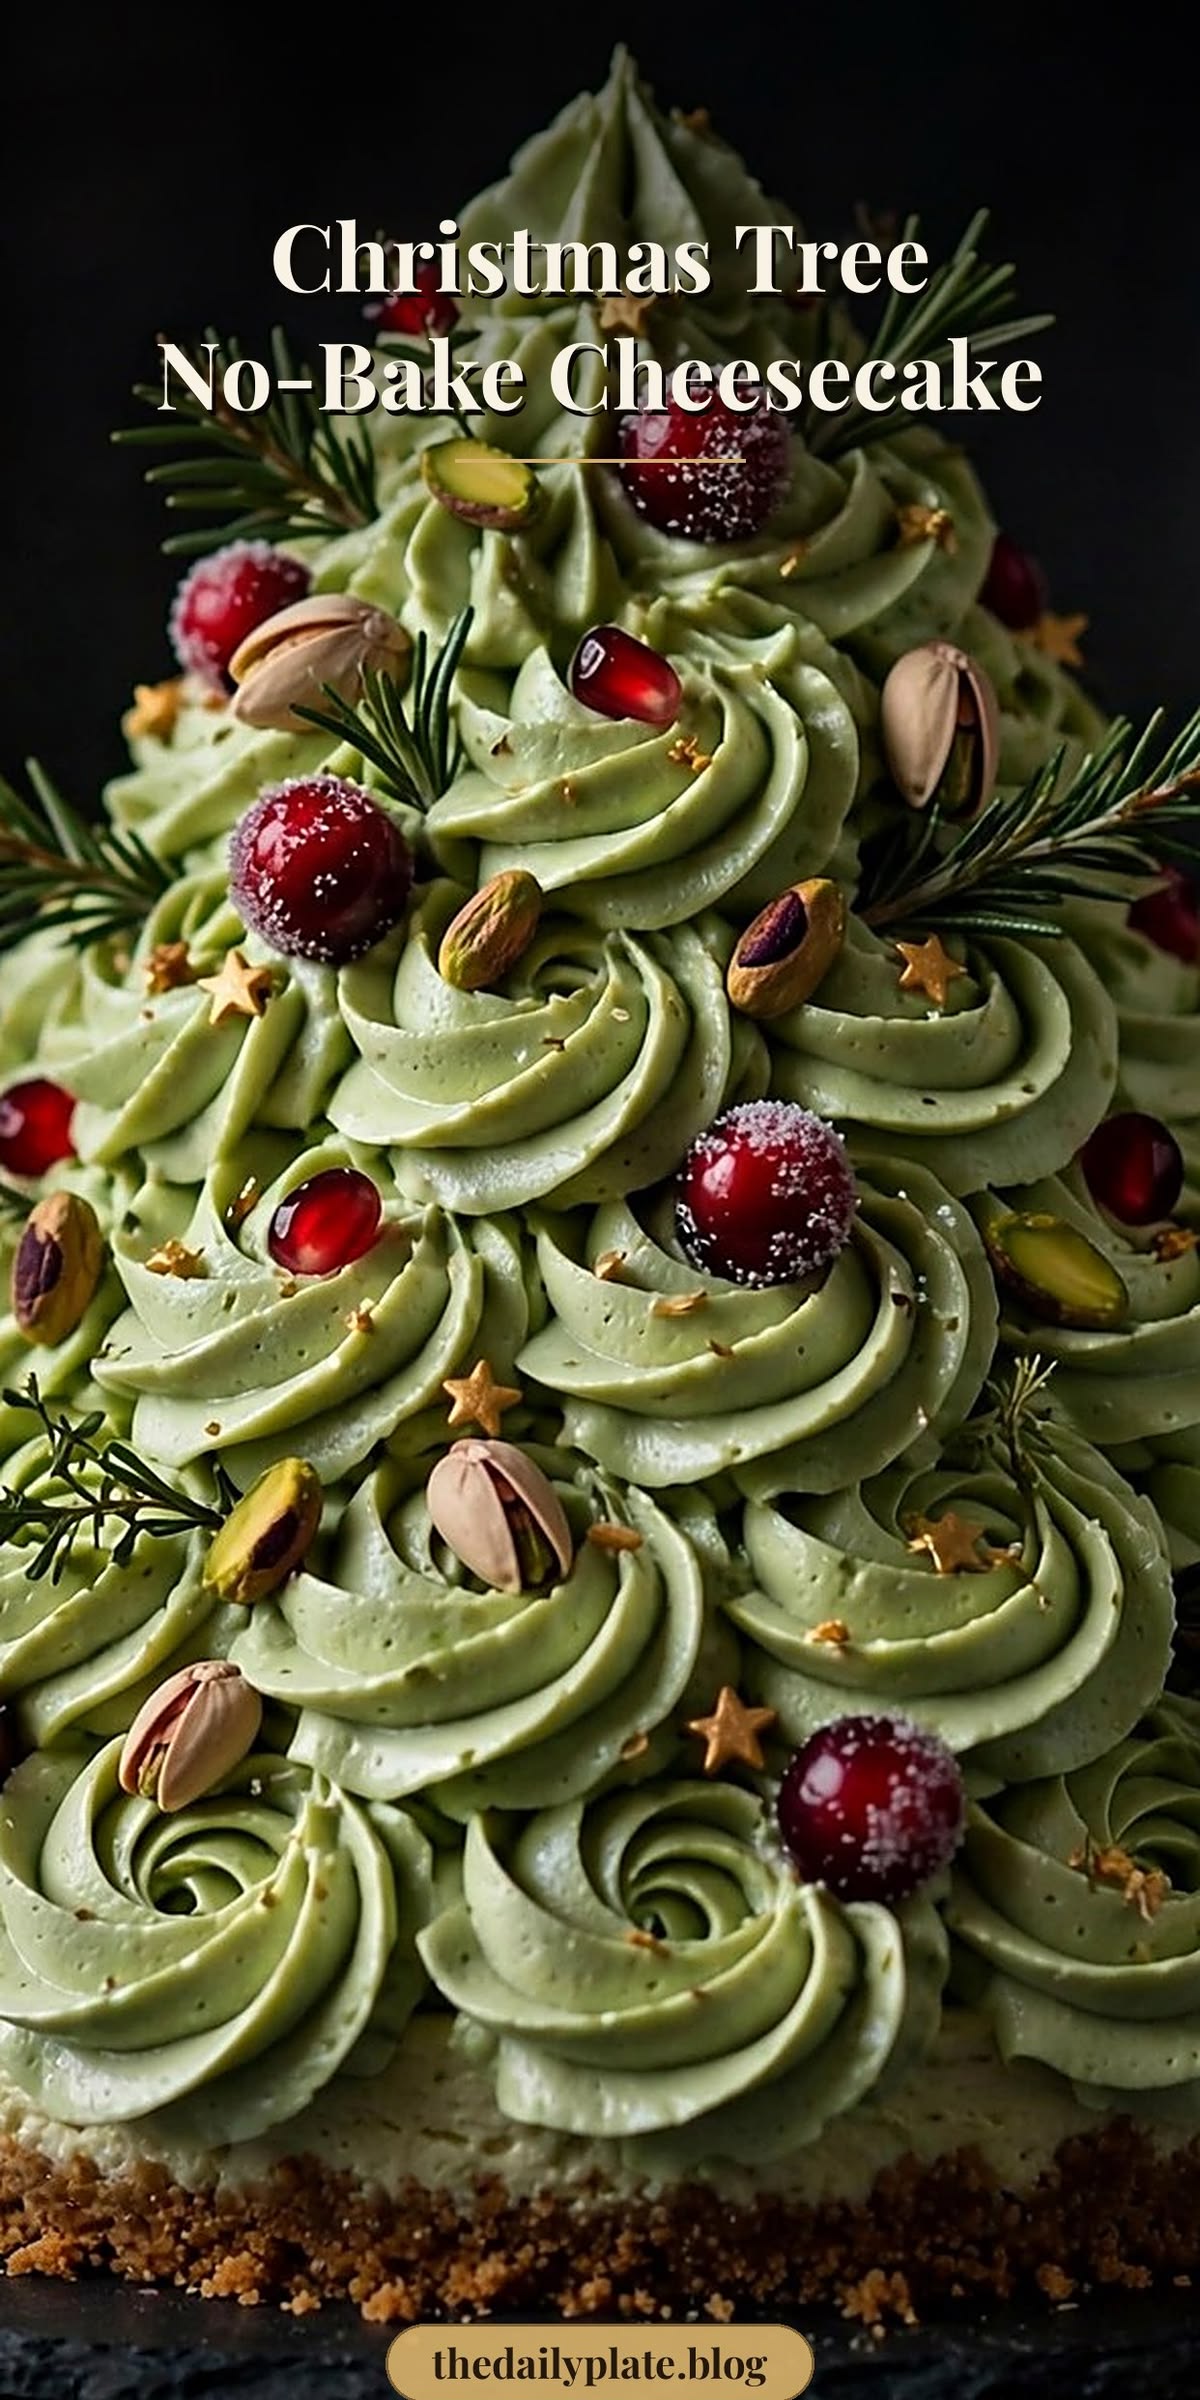
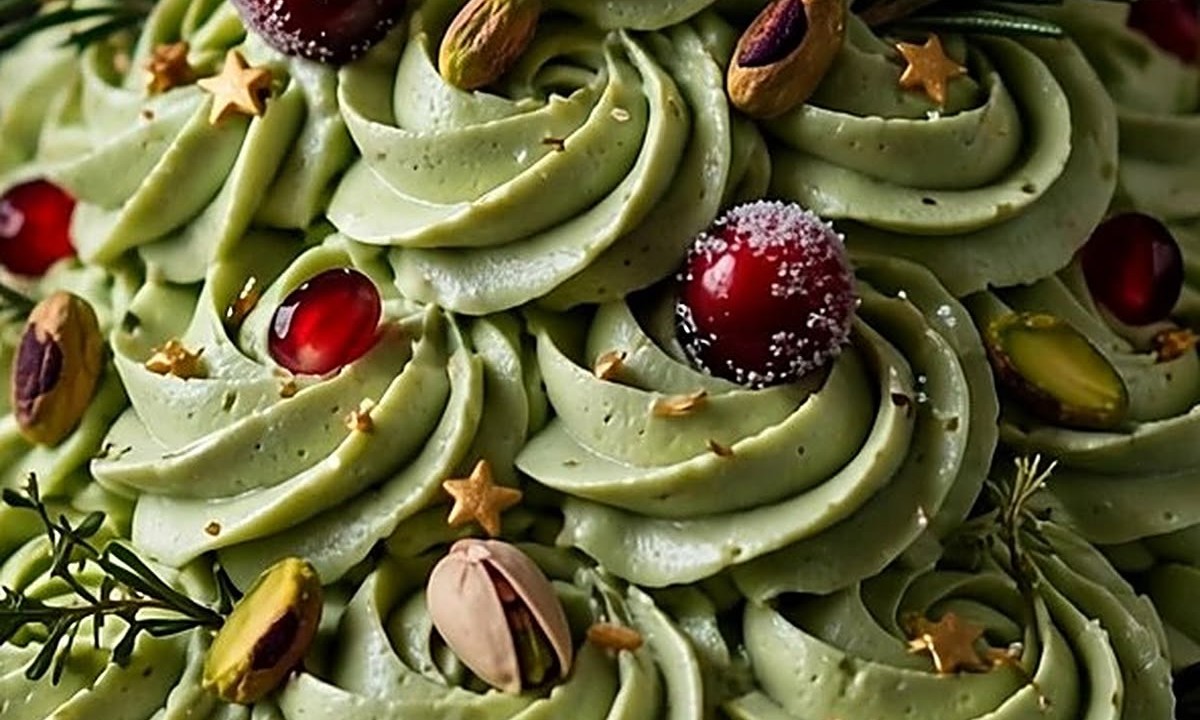
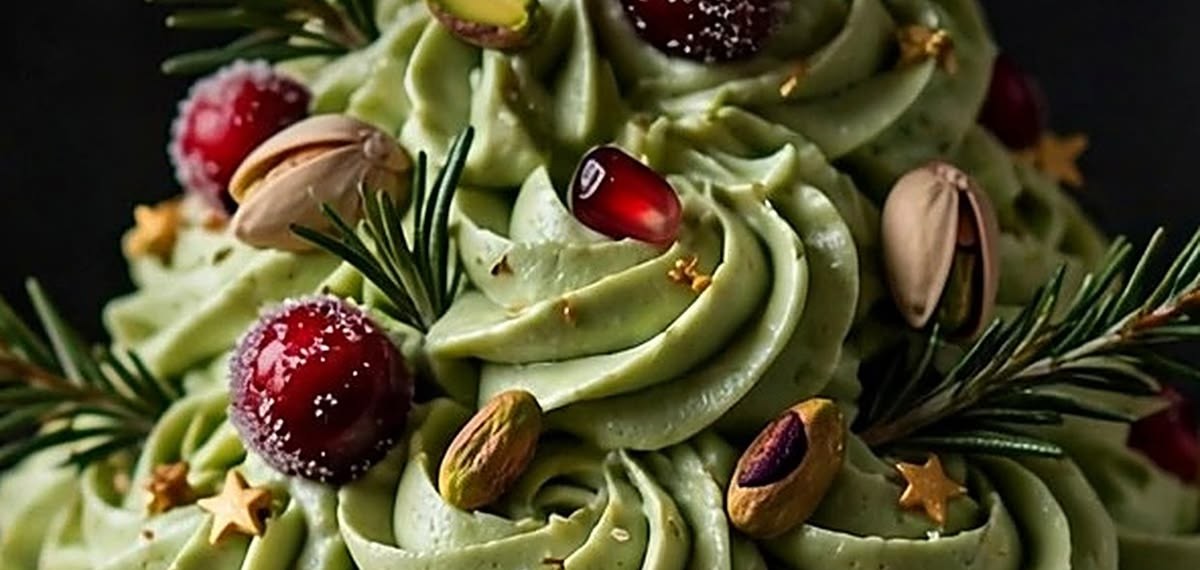
Creamy cheesecake rosettes piped into a Christmas tree, with sugared cranberries, pistachios, rosemary and gold stars — on a crumbly biscuit base.
A Christmas Tree No-Bake Cheesecake with a crumbly biscuit base, a creamy piped-rosette tree, sugared cranberries and gold stars — the easy, make-ahead holiday dessert that steals the Christmas table. About 30 minutes of hands-on work, one springform pan, zero oven time.
If you searched for a Christmas Tree No-Bake Cheesecake, you found the holiday dessert our readers keep coming back to — and every December there is one pudding that never makes it to the table untouched, because guests start picking at the sugared cranberries before it is even cut. This cheesecake is that dessert. It looks like a centrepiece, complete with a piped rosette tree, cranberries, pistachios and gold stars, but it is built from the most ordinary baking staples: cream cheese, biscuits, cream and fruit.
The secret is simply patience. You press the base, beat the filling until silky, pipe it into rosettes ring by ring so the tree climbs to a point — and then the fridge does the rest. No oven, no water bath, no stress — just about 30 minutes of hands-on work and a little chilling. Build it once and it will be requested every Christmas after.
Why this Christmas Tree No-Bake Cheesecake works every time
No oven, no baking. Your oven stays free for the main event while the dessert sets itself in the fridge.
Piped rosettes do the decorating. Ring by ring, the tree shape builds itself — no carving, no mould, no special skill needed.
Make-ahead magic. It needs 4–6 hours in the fridge anyway, so it is the rare Christmas dessert that is better made the day before.
What size cheesecake do you need? The 1× cheesecake below is a 9-inch round and serves 12 as a dessert (about one generous slice each). Feeding a crowd after a big Christmas dinner? Keep it at 1× and add a second, smaller dessert. Feeding 20+ as the main pudding? Scale to 2× and build two trees side by side — or make 12 mini cheesecake trees instead, which are easier to serve and look wonderful on the table.
Cost & timing at a glance: about $16–20 of groceries at a regular supermarket (cream cheese, cream and berries), 30 minutes of hands-on work, 4–6 hours chilling in the fridge. The cheesecake can be made a full day ahead — see the make-ahead plan in the notes and the full storage guide after the recipe card.
Choose Your Board
Build the Christmas Tree No-Bake Cheesecake Your Way
Tap your occasion, how many you’re feeding and your style — the tree photo, the servings, the quantities in the recipe card below and your shopping list all update to match.
Occasion
Serves
Style
Holiday Party · Serves 12 · Classic
The Classic Christmas Tree No-Bake Cheesecake
The classic tree: pale sage-green piped rosettes, sugared cranberries, pistachios, rosemary and gold stars — exactly as pinned.
The original cheesecake, exactly as pinned: creamy rosettes, crumbly base, cranberries and gold stars. If it’s your first no-bake tree, build this one — it’s the most forgiving.
Equipment for your Christmas Tree No-Bake Cheesecake
9-inch springform pan, for the base and the tree
Food processor (or a bag + rolling pin), for the biscuit crumbs
Large mixing bowl + electric hand mixer or stand mixer, for the filling
Rubber spatula, for folding
Piping bag + large open-star tip (Wilton 1M), for the rosettes
Small saucepan, for the gelatine
Parchment paper, for the base
Serving plate or pedestal cake stand, for serving
Sharp thin knife, for slicing (run under hot water, wipe dry between cuts)
Christmas Tree No-Bake Cheesecake shopping list — by store section
Take this list as-is: quantities are for the 1× tree (serves 12). Tick items off in the ingredient list below as you gather them — the counter at the top tracks you.
Baking aisle
2 cups graham cracker crumbs (about 14 full sheets)
2 tbsp granulated sugar
1 cup powdered sugar
1½ tsp powdered gelatine
1 tsp vanilla extract
1 tbsp edible gold star sprinkles
Dairy
24 oz cream cheese, softened (3 blocks)
1½ cups heavy whipping cream, cold
7 tbsp unsalted butter, melted
Produce & nuts
½ cup fresh cranberries
¼ cup pomegranate seeds
1 lemon (you need 1 tbsp juice)
1 small bunch fresh rosemary (about 8 small sprigs)
¼ cup shelled pistachios
Nut butter & baking aisle
3 tbsp pistachio paste (or 2 tsp matcha powder), for the pale sage-green colour
Make It Yours
Christmas Tree No-Bake Cheesecake Variations
Same tree shape, same method — just swap the flavours to fit your guests.
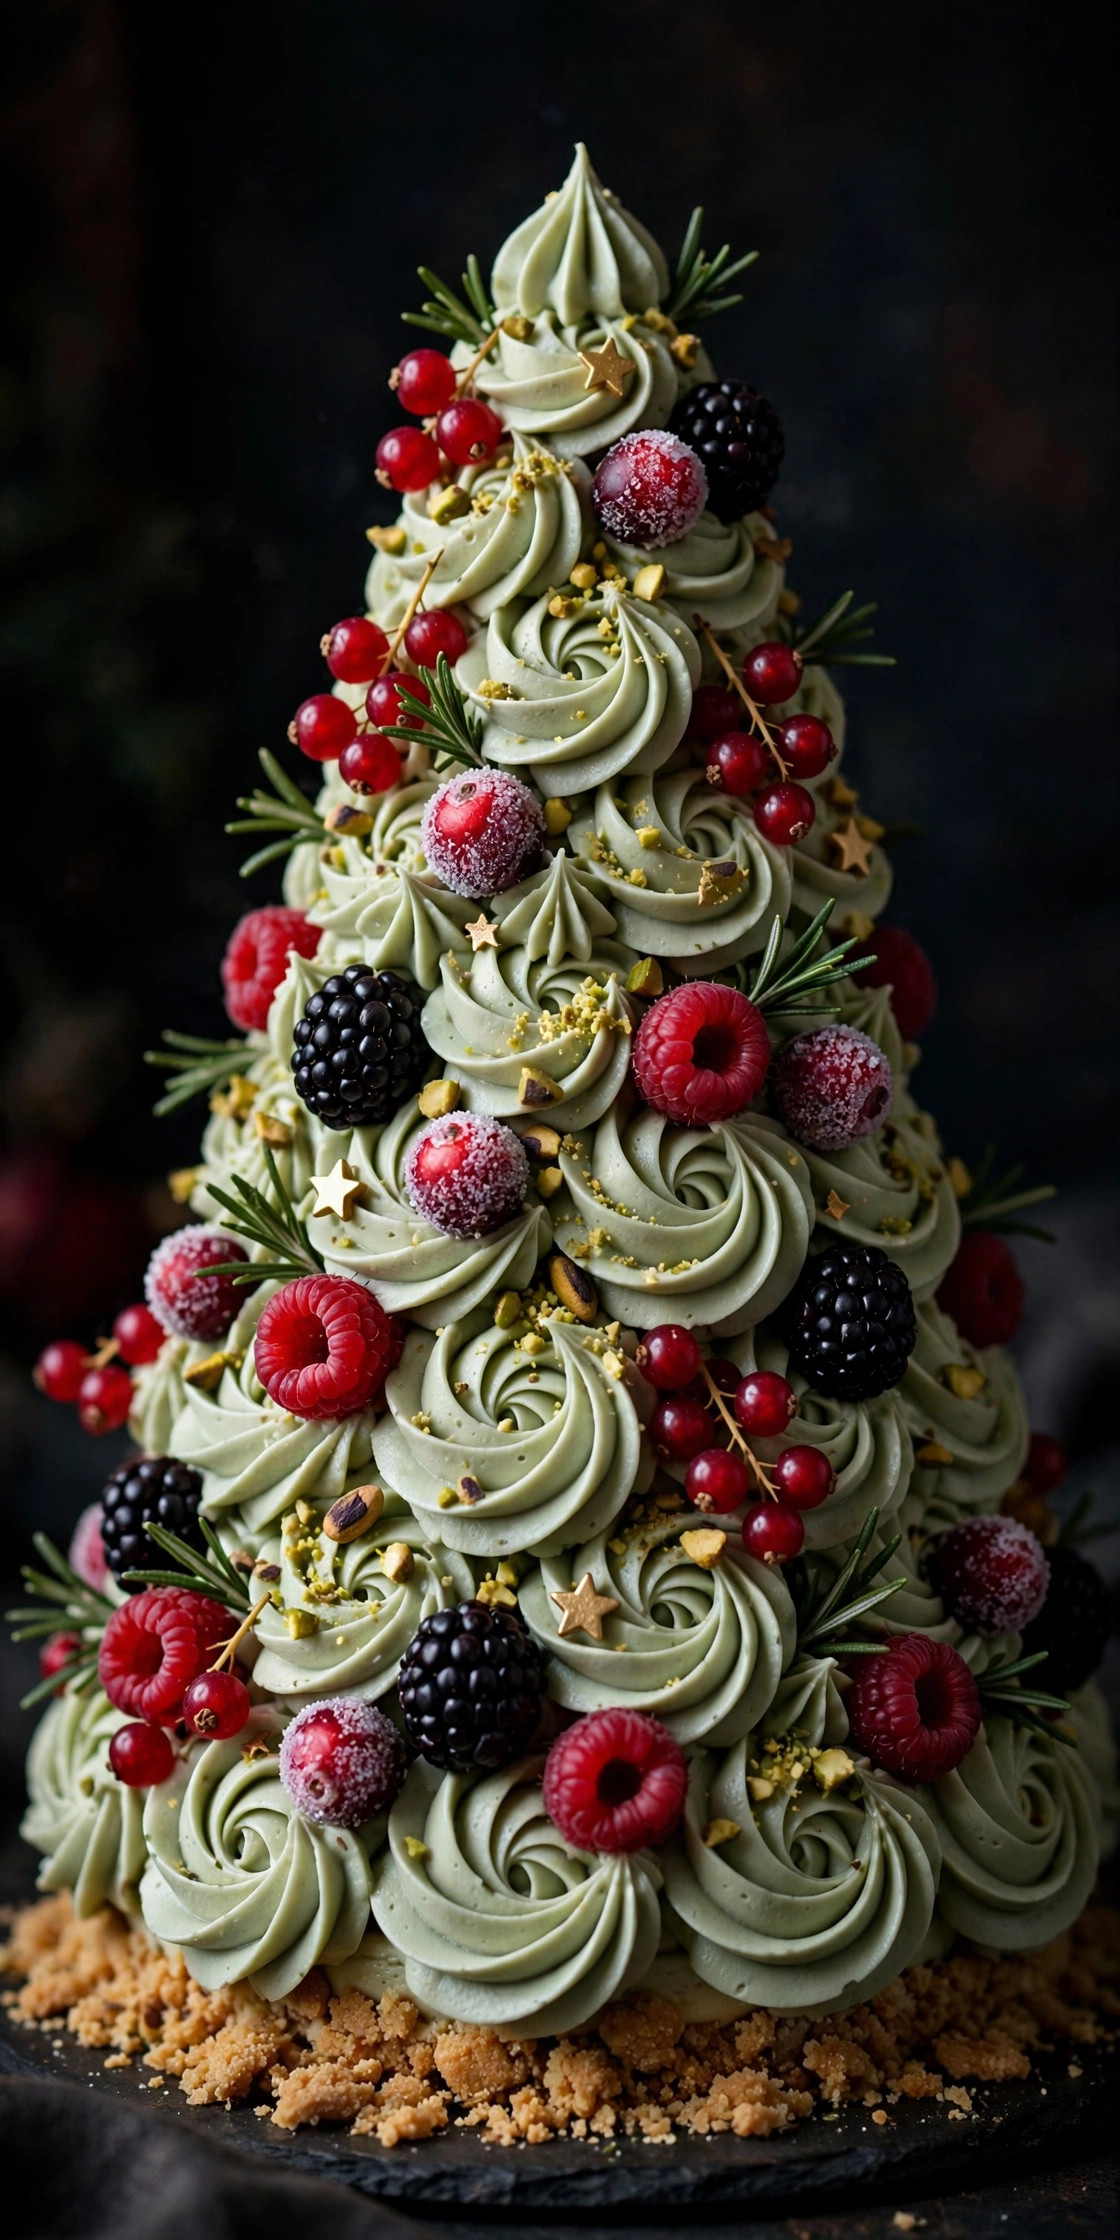
Berry
Piled high with every berry you love:
Swap the cranberries and pomegranate for raspberries, blackberries and redcurrants
Keep the base and filling exactly the same
Drizzle berry coulis over the top if you like
Best when berries are in season and cheap
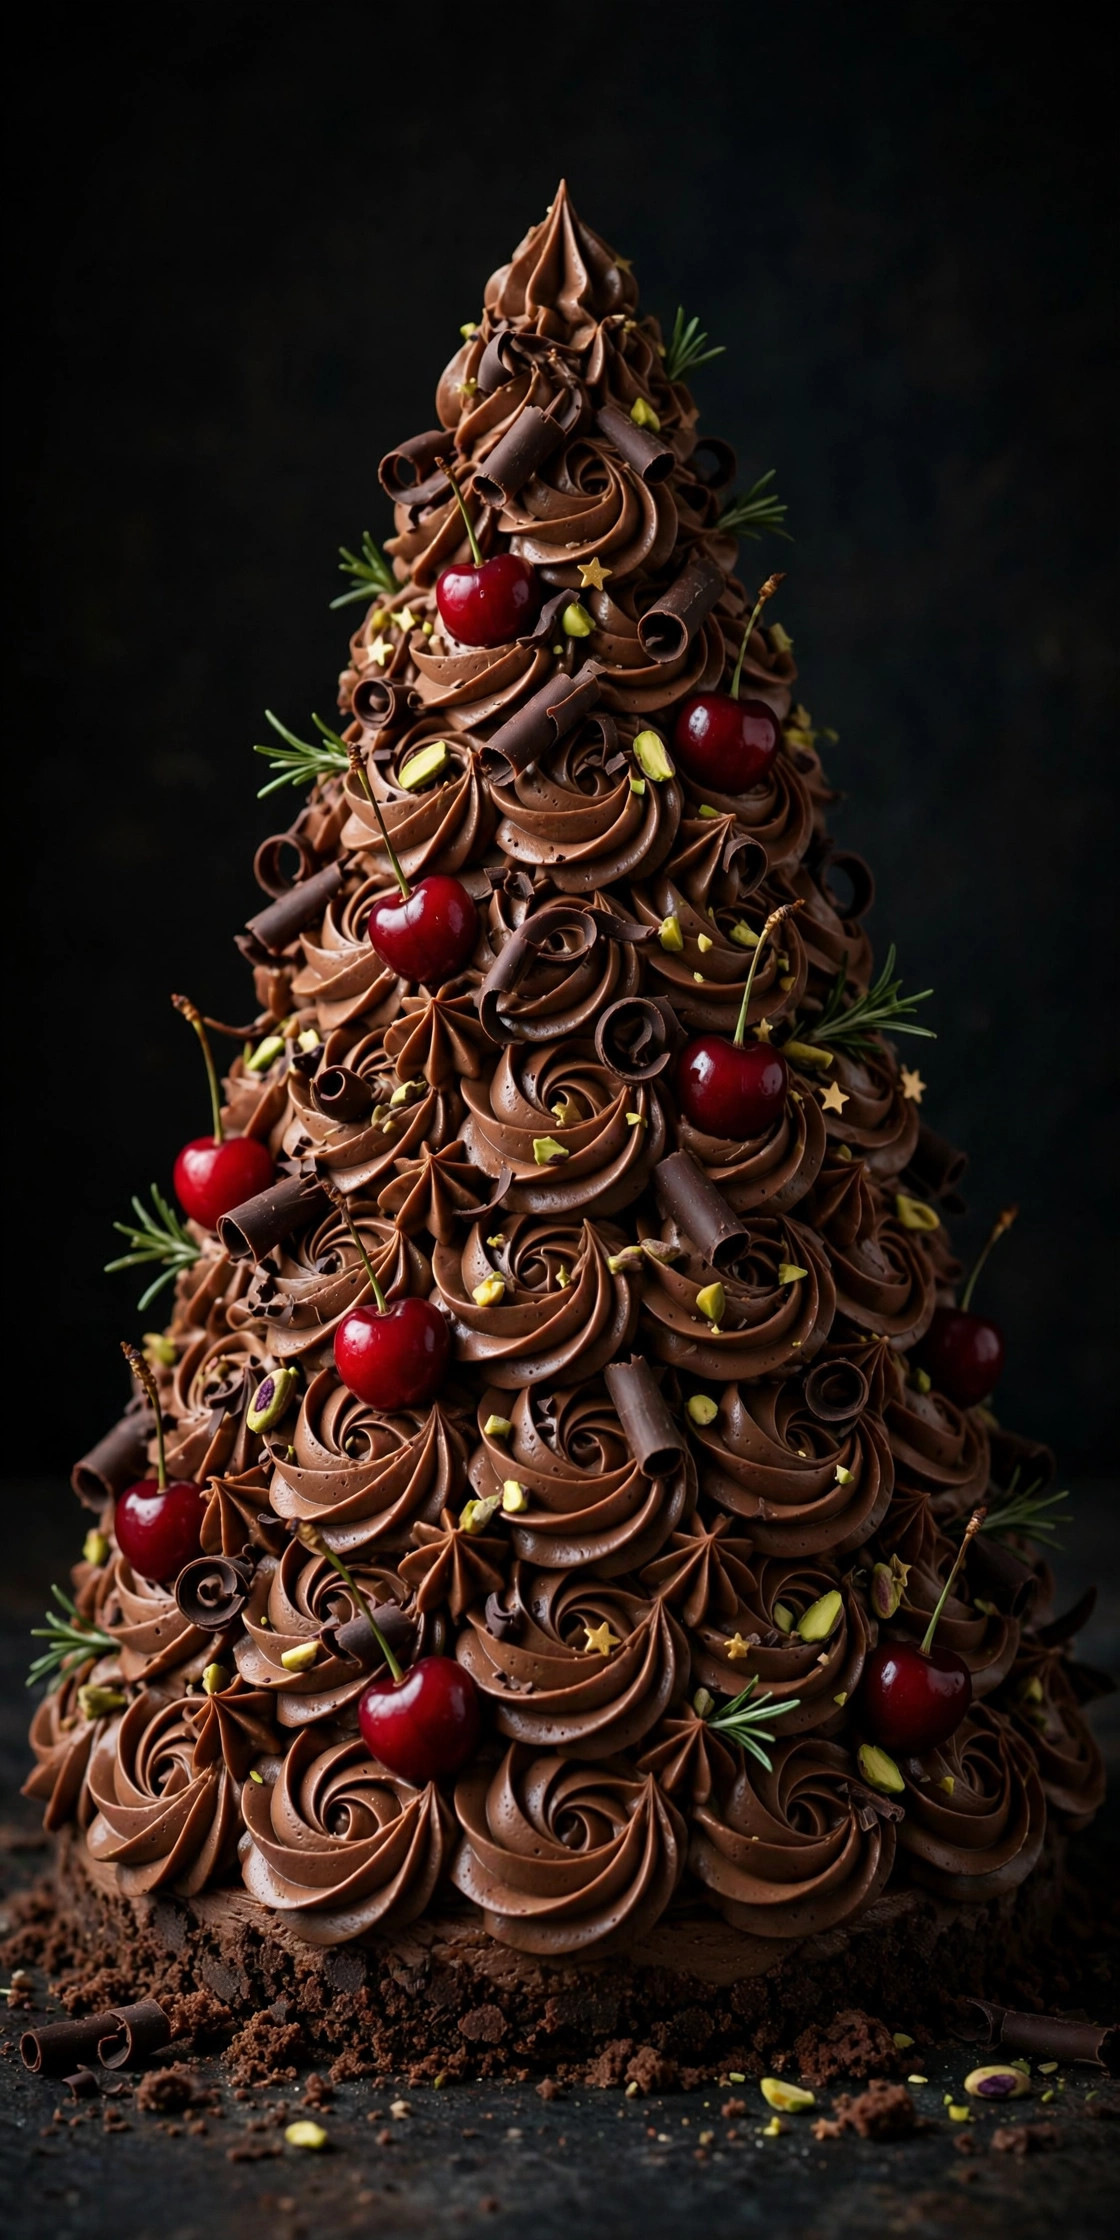
Chocolate
For the chocoholics at the table:
Use chocolate biscuits for the base and add 3 tbsp cocoa powder to the filling
Top with dark chocolate shavings and curls instead of pomegranate
Swap cranberries for fresh cherries
Chill exactly the same way — the chocolate makes it even richer
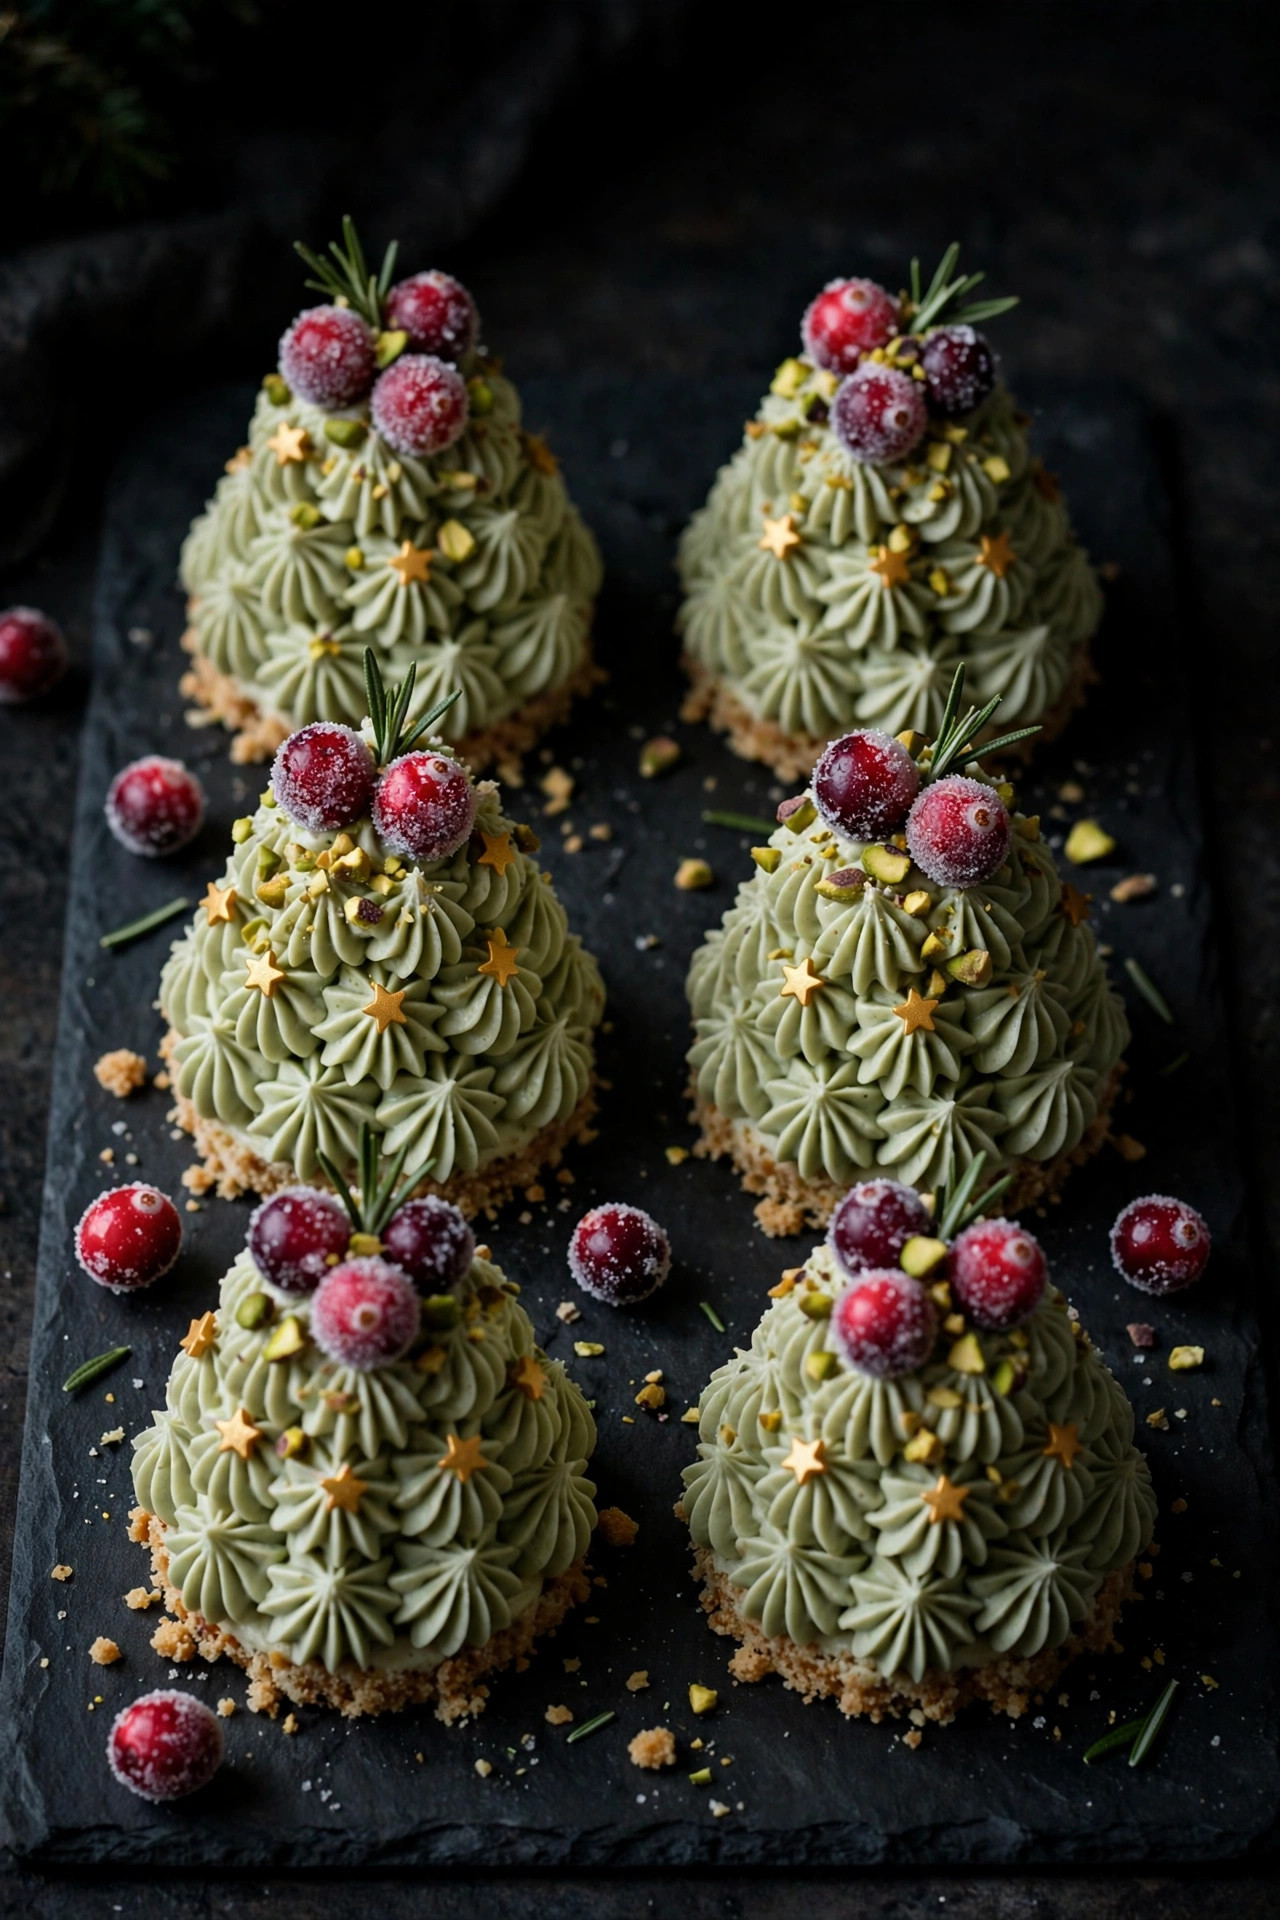
Mini Cheesecake Trees
Twelve little trees, no slicing needed:
Press the base into 12 small ring moulds or ramekins
Pipe a small rosette cone on each one
Chill 3 hours instead of 4–6
Crown each with a sugared cranberry and a rosemary sprig — perfect for parties
Serving & Pairings
How to Serve Your Christmas Tree Cheesecake
The finished tree, ready to serve: the sage-green rosette tree on its plate, with a slice cut and plated to show the creamy interior and crumbly base — serve cold, straight from the fridge.
Serving ideas: Set the tree on its serving plate or pedestal stand in the centre of the table so it reads as the centrepiece, then slice it at the table with a sharp thin knife — run the blade under hot water and wipe it dry between cuts for clean slices. Serve cold, straight from the fridge. A few extra cranberries and rosemary sprigs scattered around the base of the stand make it look finished.
Drink pairings: A glass of Prosecco or a sweet dessert wine (Moscato or a late-harvest Riesling) is the classic match; for a no-alcohol option, sparkling apple cider with a rosemary sprig in each glass mirrors the tree. Coffee also works beautifully with the creamy cheesecake.
What to serve with it: This cheesecake is the dessert for 12 after a Christmas dinner — or the sweet finish to a party spread alongside the Charcuterie Christmas Tree and the Christmas Pavlova.
Plan Ahead
Christmas Tree No-Bake Cheesecake Storage & Make-Ahead Guide
Make-ahead timeline
1 day ahead: Make the whole tree — base, filling, rosettes — and chill it overnight in the fridge, covered loosely. This is the best way: the flavour deepens and the slices cut cleaner.
Morning of: Make the sugared cranberries (10 minutes + 1 hour to dry) and prep the pistachios, pomegranate and rosemary.
Up to 1 hour ahead: Decorate the tree and keep it chilled until serving.
Storing leftovers
Fridge: Leftover slices keep 3 days, covered, at 40°F / 4°C or below.
Freezer: Freeze the undecorated cheesecake (without cranberries or rosemary) for up to 1 month, wrapped well; thaw overnight in the fridge, then decorate. Do not freeze the decorated tree — the cranberries weep.
Use it up: Leftover slices are perfect layered with berries and cream in glasses as a cheesecake parfait.
Per Serving
Christmas Tree No-Bake Cheesecake Nutrition
Estimate for 1 of 12 servings, including base, filling and topping. Actual values vary with brands and swaps.
Calories
320 kcal
Total fat
24 g
Saturated fat
14 g
Cholesterol
65 mg
Sodium
210 mg
Total carbohydrates
22 g
Dietary fibre
1 g
Sugars
16 g
Protein
5 g
Calcium
8% DV
Questions
Christmas Tree No-Bake Cheesecake FAQs
Why won’t my no-bake cheesecake set?
Almost always the cream cheese was too cold, the cream was under-whipped, or the gelatine never made it in. Use fully softened cream cheese, whip the cream to soft peaks, and make sure the bloomed gelatine is melted (never boiling) and folded in while the filling is still soft. Then give it the full 4–6 hours — overnight is safest.
Can I skip the gelatine?
You can, but the tree will be softer and the rosettes will slump in a warm room. Without gelatine, use an extra ½ cup of cream cheese, whip the cream to firm peaks, and keep the tree chilled until the moment you serve it. For a warm house, gelatine is worth it.
How do I get the pale green colour?
Pistachio paste gives the exact sage-green shade in the photo and adds flavour; matcha powder works too but tastes grassier. Add it a little at a time — you want pale sage, not bright green. A few drops of green food colouring is the third option.
Can I make it ahead?
Yes — it is better made ahead. The whole tree keeps 1 day in the fridge, covered loosely. Make the sugared cranberries the morning of, and decorate no more than 1 hour before serving so the berries stay frosted.
Why did my rosettes sag or melt?
The filling was too soft when piped (chill the base layer first, and pipe with cold filling), or the room was warm. Pipe the tree with the bowl sitting over ice if your kitchen is hot, and get the tree into the fridge within 15 minutes of piping.
Can I freeze it?
Yes — the undecorated cheesecake freezes well for up to 1 month, wrapped tightly. Thaw overnight in the fridge, then decorate. Never freeze the finished, decorated tree: the cranberries weep and the rosemary goes limp.
Creamy cheesecake rosettes piped into a festive tree with sugared cranberries, pistachios, rosemary and gold stars — on a crumbly biscuit base.
Prep Time
30 min
Chill Time
4–6 hours
Total Time
5 hr 30 min
Servings
12
Calories
320
Scale tree:
Makes 12 servings · 1 large tree (9-inch springform) · US measures 0 of 15 gathered
Christmas Tree No-Bake Cheesecake Ingredients
For the base
For the filling
For the decoration
How to Build a Christmas Tree No-Bake Cheesecake — Step by Step
Work in this exact order: base first, filling second, piping third, decorating last. Total hands-on time is about 30 minutes; the fridge does the rest.
Make the biscuit base (10 minutes). Crush the graham crackers to fine crumbs in a food processor (or in a bag with a rolling pin). Mix with the melted butter and sugar until it holds together like wet sand. Tip into a 9-inch springform pan lined with parchment and press down firmly and evenly — use the base of a glass to get it flat. Chill in the fridge for 20 minutes while you make the filling.
Bloom the gelatine (5 minutes). Sprinkle the gelatine over 3 tbsp cold water in a small bowl and leave it for 5 minutes until spongy. Warm it very gently (10 seconds in the microwave, or over a pan of hot water) until just melted and clear — never let it boil. Set aside to cool slightly.
Beat the filling (10 minutes). Beat the softened cream cheese with the powdered sugar, vanilla and lemon juice until completely smooth — no lumps. Beat in the pistachio paste (or matcha) a little at a time until the filling is a pale sage green. In a separate bowl, whip the cold cream to soft peaks, then fold it into the cream cheese in two batches. Finally fold in the melted gelatine until just combined.
Fill the pan & first chill (5 minutes + 2 hours). Spoon about half the filling over the chilled base and smooth it flat with a spatula — this is the foundation the tree stands on. Cover loosely and chill for 2 hours, until firm enough to pipe on. Keep the remaining filling covered in the fridge (give it a gentle stir before piping).
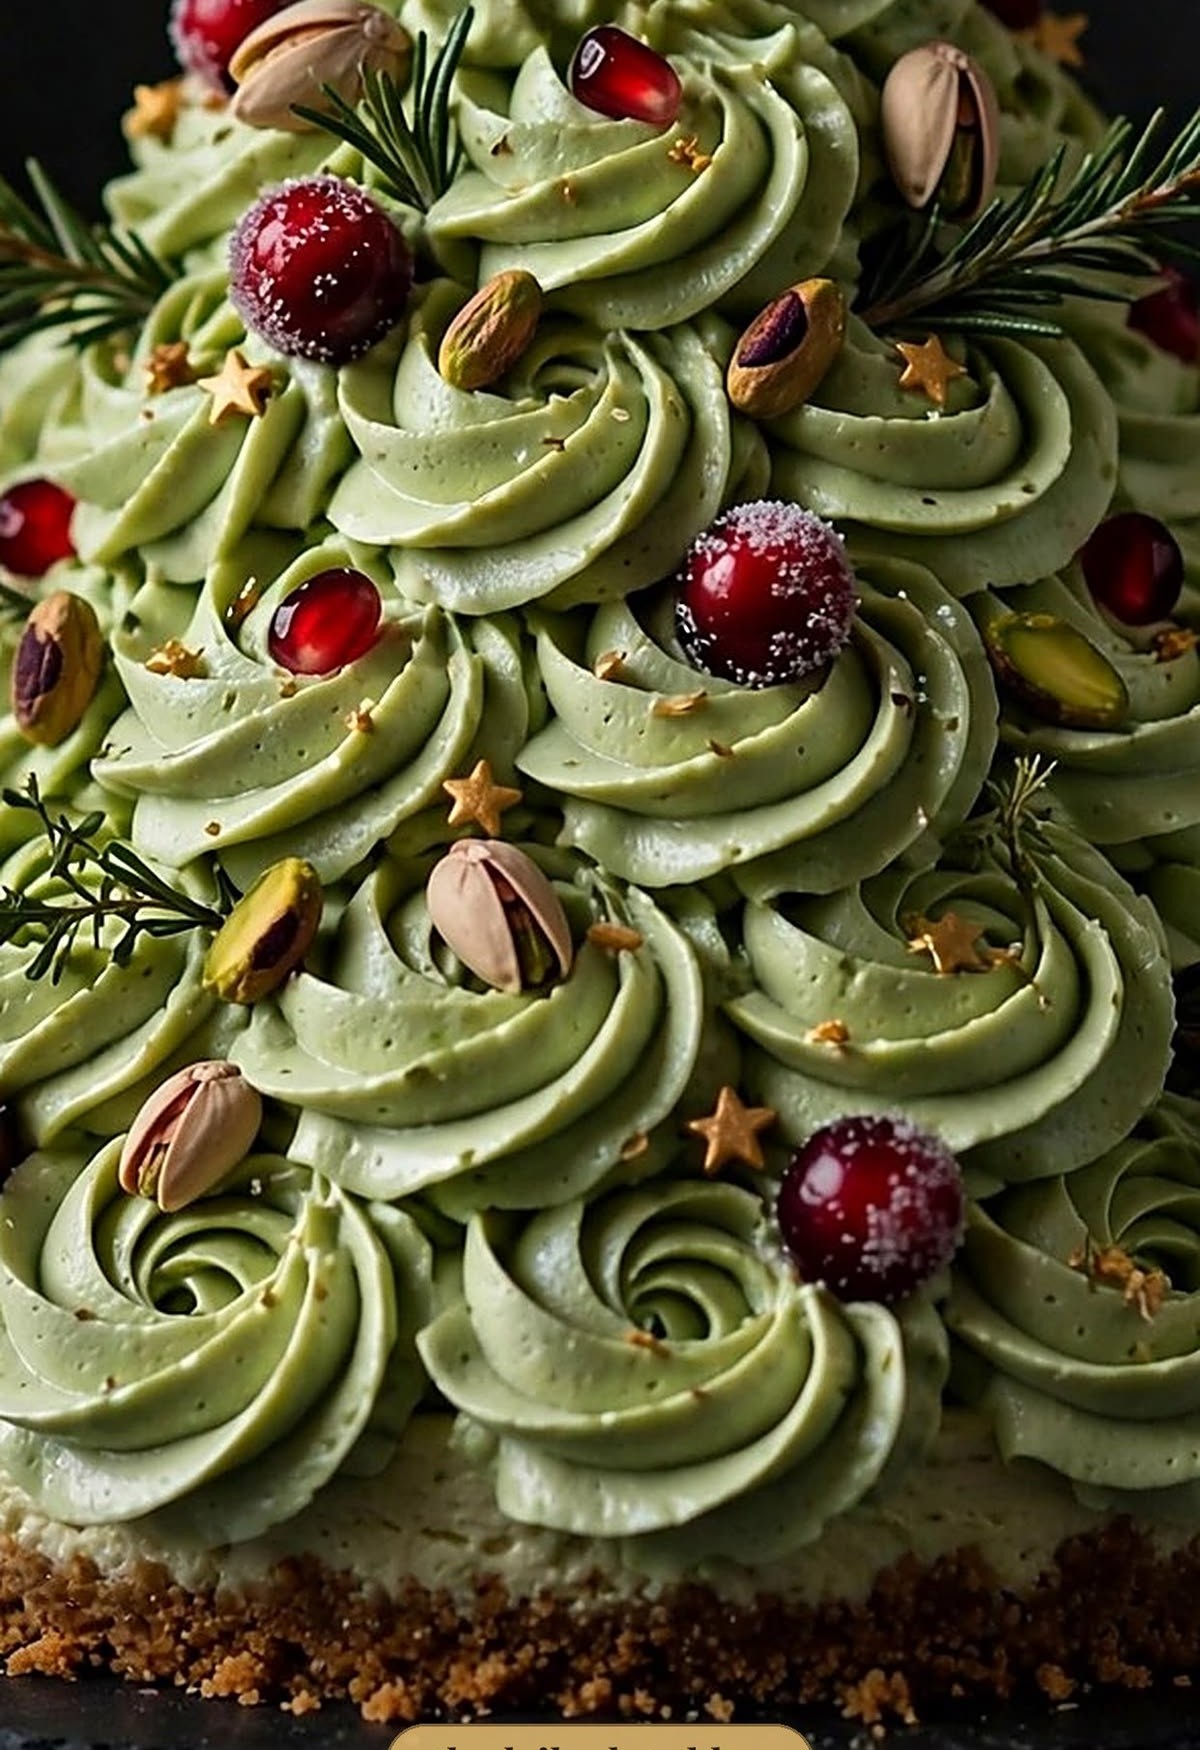
Pipe the tree (15 minutes). Transfer the remaining filling to a piping bag fitted with a large open-star tip (Wilton 1M). Pipe rosette rings around the outer edge of the chilled cheesecake, then a slightly smaller ring on top of that one, and keep going — each ring a little smaller — until the rosettes climb to a point and the tree is finished with one tall rosette at the top. Work quickly and get the tree into the fridge within 15 minutes.
Chill until set (4–6 hours, overnight best). Chill the tree in the fridge for at least 4–6 hours — overnight is best. The filling must be completely firm before you decorate or slice it, or the rosettes will slump. Do not rush this step.
Sugar the cranberries (10 minutes + 1 hour to dry). While the tree chills, make the frosted cranberries: warm ¼ cup sugar with ¼ cup water until the sugar dissolves, toss in the cranberries, lift them out with a slotted spoon and roll them in a bowl of sugar until coated. Spread on parchment and leave for 1 hour until dry and sparkly. (Any time during the chilling works — do this ahead if you like.)
Decorate the tree (10 minutes). Tuck the sugared cranberries, chopped pistachios and pomegranate seeds between the rosettes, nestle in the rosemary sprigs so they read as branches, and scatter the gold star sprinkles over the top. Balance the red pieces evenly — don’t cluster them all in one spot. Keep the tree chilled until serving.
Unmould, slice & serve (5 minutes). Run a thin knife around the inside of the springform ring, release the ring and slide the tree onto its serving plate or cake stand. Slice with a sharp thin knife — run the blade under hot water and wipe it dry between cuts for clean slices. Serve cold, straight from the fridge, within 2 hours of taking it out.
Notes, tips & make-ahead
Make ahead: Make the whole tree up to 1 day ahead; keep it covered loosely in the fridge. Make the sugared cranberries the morning of, and decorate no more than 1 hour before serving.
Add last: Decorate the tree just before serving so the cranberries stay frosted and the rosemary stays fresh.
Rosette tip: Keep the filling cold while you pipe — if your kitchen is warm, sit the bowl over ice. Warm filling makes soft rosettes that slump.
Colour: Add the pistachio paste (or matcha) a little at a time — you want pale sage, not bright green. The colour deepens slightly as it chills.
Slicing: A hot, dry blade between cuts is the whole secret to clean slices through rosettes.
Scale: ½× = 6 servings, one 7-inch tree (chill 3–4 hours) · 1× = 12 servings, one 9-inch tree · 2× = 24 servings, two 9-inch trees. Servings scale 6 / 12 / 24.
Food safety: Cream-cheese desserts should not sit out longer than 2 hours; refrigerate leftovers and eat within 3 days.
Scale: ½× = 6 servings, one 7-inch tree (chill 3–4 hours) · 1× = 12 servings, one 9-inch tree · 2× = 24 servings, two 9-inch trees. Servings scale 6 / 12 / 24.
No related recipes match that search — try “chicken” or “salad”.
The Gold List
Get our 10 most-saved dinners — free
Join The Gold List and we'll send the eBook plus one new reader-favourite recipe every week. No spam, just dinner.
Free forever · Unsubscribe anytime
Christmas Tree No-Bake Cheesecake
The Daily Plate · thedailyplate.blog · Prep 30 min · Chill 4–6 hours · Total 5 hr 30 min · 12 servings
Ingredients
Instructions
Make the biscuit base (10 minutes). Crush the graham crackers to fine crumbs in a food processor (or in a bag with a rolling pin). Mix with the melted butter and sugar until it holds together like wet sand. Tip into a 9-inch springform pan lined with parchment and press down firmly and evenly — use the base of a glass to get it flat. Chill in the fridge for 20 minutes while you make the filling.
Bloom the gelatine (5 minutes). Sprinkle the gelatine over 3 tbsp cold water in a small bowl and leave it for 5 minutes until spongy. Warm it very gently (10 seconds in the microwave, or over a pan of hot water) until just melted and clear — never let it boil. Set aside to cool slightly.
Beat the filling (10 minutes). Beat the softened cream cheese with the powdered sugar, vanilla and lemon juice until completely smooth — no lumps. Beat in the pistachio paste (or matcha) a little at a time until the filling is a pale sage green. In a separate bowl, whip the cold cream to soft peaks, then fold it into the cream cheese in two batches. Finally fold in the melted gelatine until just combined.
Fill the pan & first chill (5 minutes + 2 hours). Spoon about half the filling over the chilled base and smooth it flat with a spatula — this is the foundation the tree stands on. Cover loosely and chill for 2 hours, until firm enough to pipe on. Keep the remaining filling covered in the fridge (give it a gentle stir before piping).
Pipe the tree (15 minutes). Transfer the remaining filling to a piping bag fitted with a large open-star tip (Wilton 1M). Pipe rosette rings around the outer edge of the chilled cheesecake, then a slightly smaller ring on top of that one, and keep going — each ring a little smaller — until the rosettes climb to a point and the tree is finished with one tall rosette at the top. Work quickly and get the tree into the fridge within 15 minutes.
Chill until set (4–6 hours, overnight best). Chill the tree in the fridge for at least 4–6 hours — overnight is best. The filling must be completely firm before you decorate or slice it, or the rosettes will slump. Do not rush this step.
Sugar the cranberries (10 minutes + 1 hour to dry). While the tree chills, make the frosted cranberries: warm ¼ cup sugar with ¼ cup water until the sugar dissolves, toss in the cranberries, lift them out with a slotted spoon and roll them in a bowl of sugar until coated. Spread on parchment and leave for 1 hour until dry and sparkly. (Any time during the chilling works — do this ahead if you like.)
Decorate the tree (10 minutes). Tuck the sugared cranberries, chopped pistachios and pomegranate seeds between the rosettes, nestle in the rosemary sprigs so they read as branches, and scatter the gold star sprinkles over the top. Balance the red pieces evenly — don't cluster them all in one spot. Keep the tree chilled until serving.
Unmould, slice & serve (5 minutes). Run a thin knife around the inside of the springform ring, release the ring and slide the tree onto its serving plate or cake stand. Slice with a sharp thin knife — run the blade under hot water and wipe it dry between cuts for clean slices. Serve cold, straight from the fridge, within 2 hours of taking it out.
“Print this card” downloads a clean one-page version of the recipe — open it in your browser and print from there. This page is also print-clean: printing it from a full browser prints only the recipe card.
Free eBook:Fresh & Easy Dinners — join The Gold List and it's yours, free.